
Learn how to make stamped fondant cookies and transform simple sugar cookies into elegant party favors and personalised treats. This step-by-step guide explains how to use fondant stamps, and includes practical tips and techniques for a professional finish.

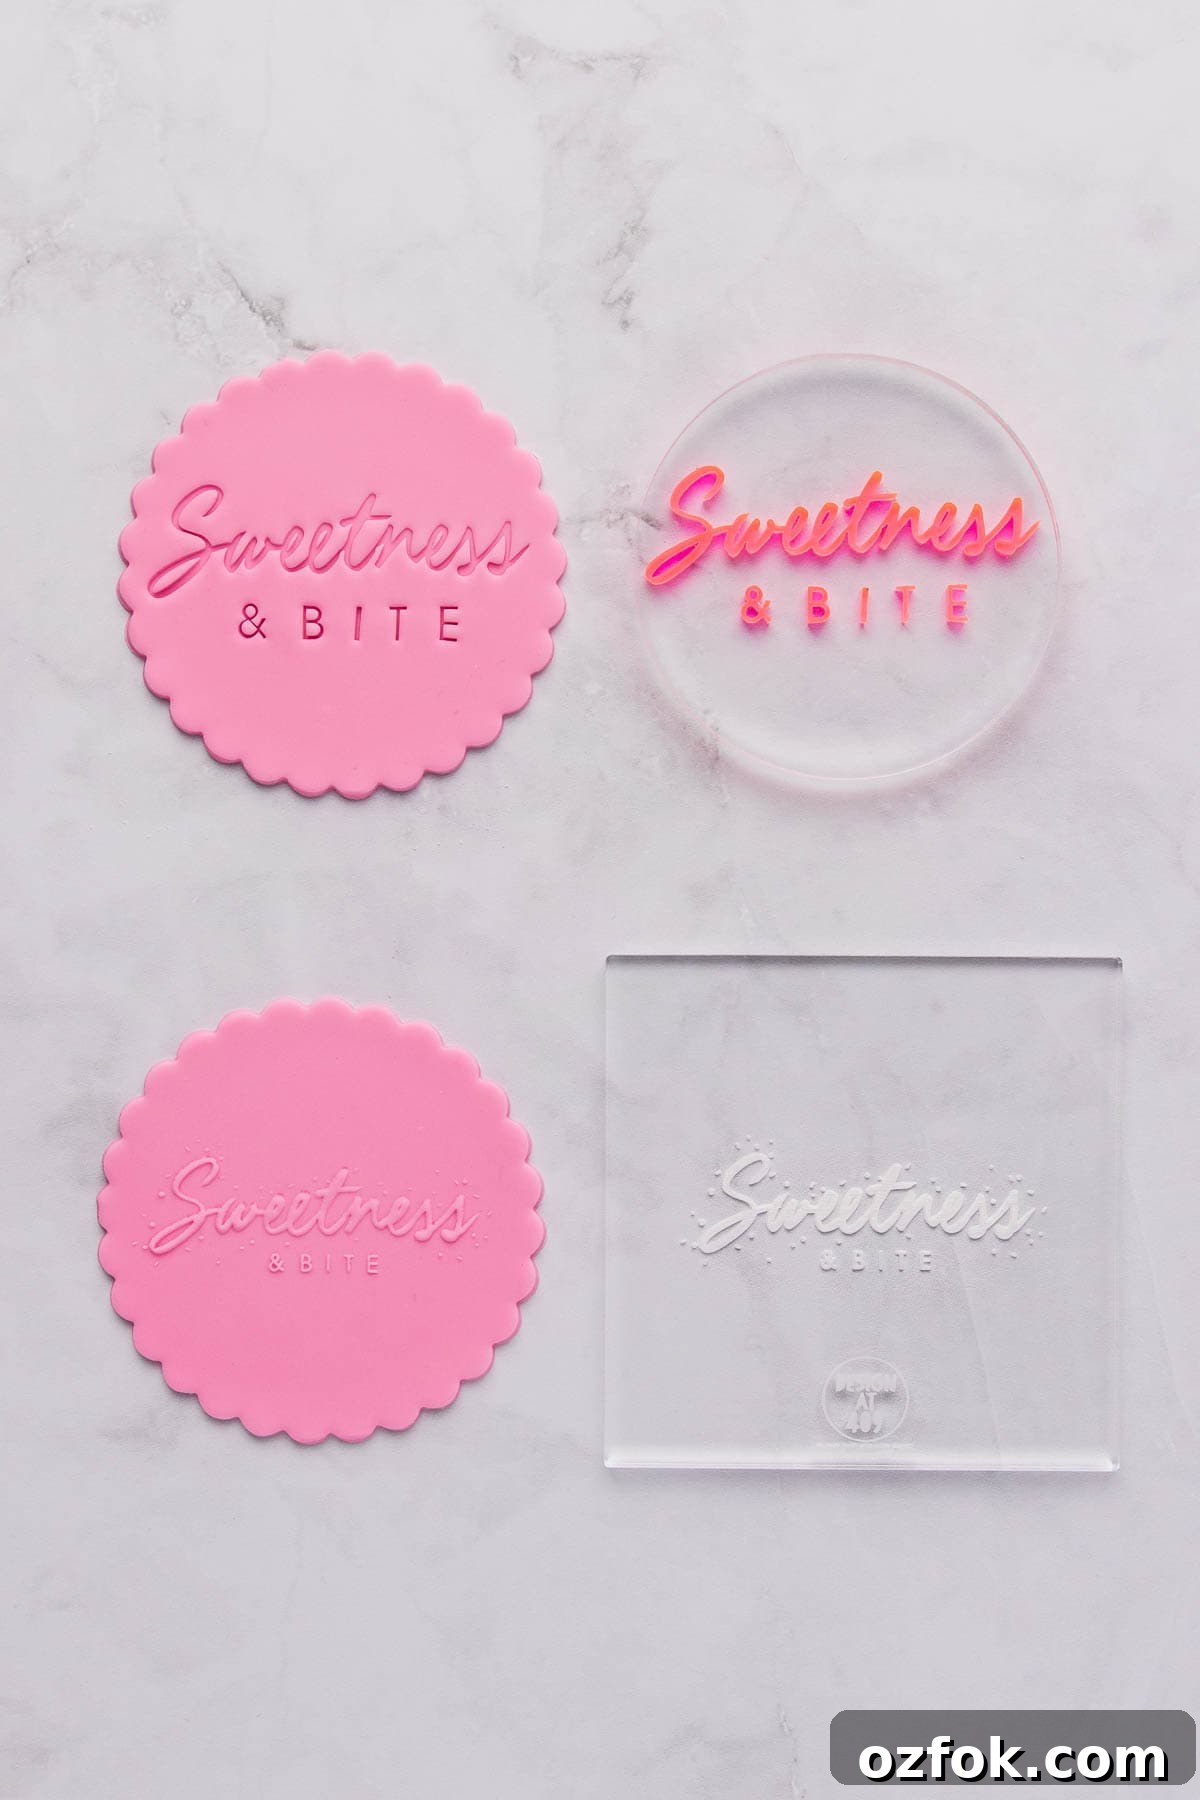
Stamped fondant cookies are an easy way to add polished decoration with minimal piping or painting skills. Fondant stamps either press a design into the icing (debossing) or create a raised pattern (embossing), allowing you to transfer text and images onto cookies quickly and consistently.
Types of Fondant Stamps
There are two main types of fondant stamps:
- Debossing stamps press the design into the fondant, leaving an indented image. These are simple and fast, and you can use them before or after applying fondant to the cookie.
- Embossing (raised) stamps create a raised design that sits above the fondant surface. They require a bit more practice but produce a striking finish that can be painted for extra emphasis.
Where to Buy Fondant Stamps
Fondant stamps are commonly available from cake-decorating suppliers and online craft stores. Search for acrylic or 3D-printed fondant stamps and alphabet stamp sets for personalised messages. Many embossers made for cakes work well for cookies too.
Edible Supplies
- Cookies – any crisp sugar cookie recipe suitable for decorating.
- Fondant – ready-to-roll fondant, coloured with gel food colouring if desired.
- Sugar syrup or cooled boiled water – to adhere fondant to cookies.
- Cornstarch or icing sugar – to dust stamps and prevent sticking.
Tools
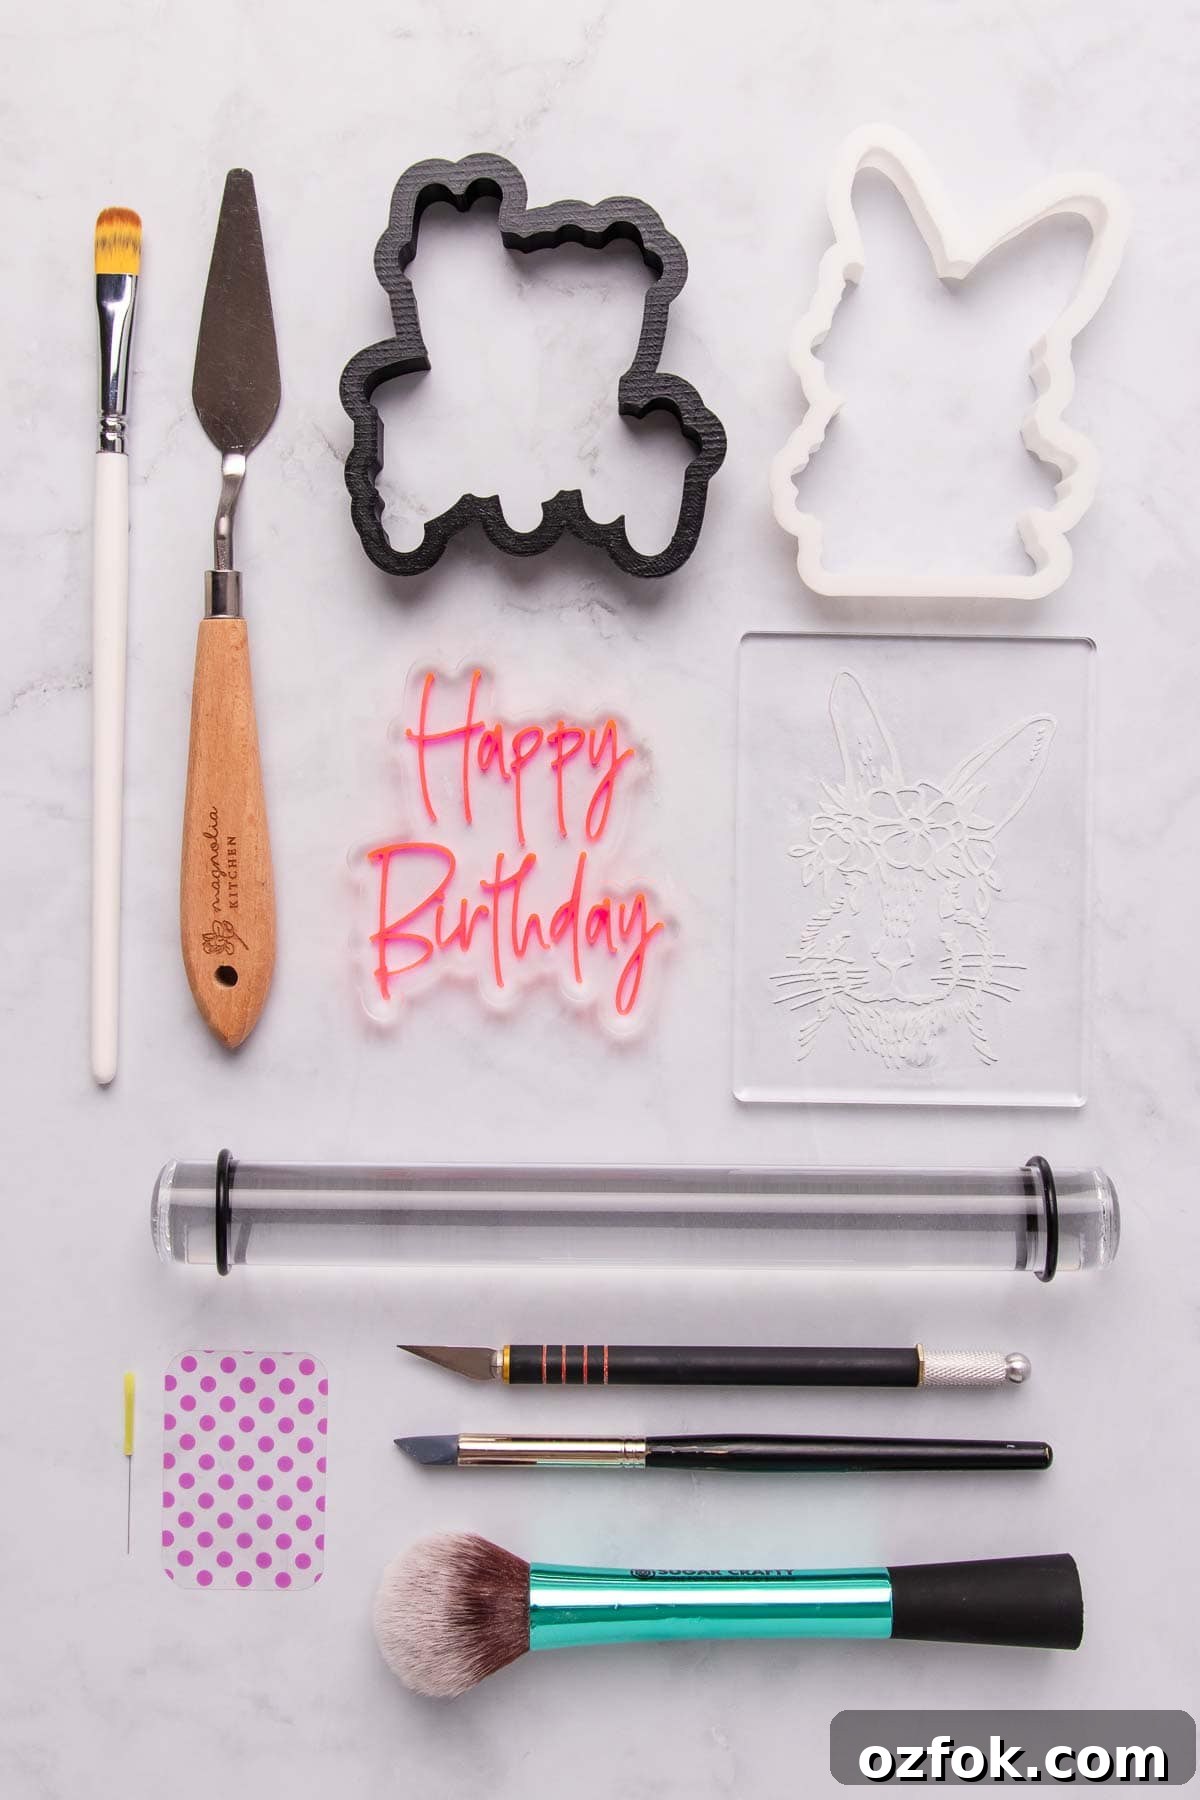
- Fondant stamps
- Cookie cutters – ideally one slightly larger than the stamped design.
- Rolling pin with spacers for even thickness.
- Food-safe paintbrushes – one for syrup and one for dusting or painting.
- Offset spatula – helpful when lifting fondant.
- Flexible fondant smoother – optional for smoothing flat areas.
- Pin or needle – to remove air bubbles.
- Scalpel or knife – for trimming edges.
Quick Tips
- Clean and dry stamps before use. Dust or moisture can ruin the imprint.
- If colouring fondant, do so several hours ahead and let it rest to reduce stickiness.
- Work one cookie at a time until you’re comfortable working faster without the fondant drying out.
How to Make Stamped Fondant Cookies
Debossing Fondant Stamps
1. Knead a golf-ball-sized piece of fondant until pliable. Roll it to 2–3mm thickness, large enough to fit your cutter and stamp.
2. Lightly dust the surface with cornstarch or let the fondant sit briefly to dry on top. Press the stamp into the fondant with even pressure—enough to get a crisp imprint without cutting through.
3. Position a matching cutter over the stamped area and cut out the fondant. Trim any rough edges with a knife or scalpel.
4. Brush a thin layer of sugar syrup or cooled boiled water on the cookie, then lift and apply the fondant. Smooth gently to remove air bubbles and align the design.
5. Use a flexible smoother or silicone tool very lightly to finish edges, taking care not to distort the stamped detail. Let the fondant dry before packaging.
Embossing Fondant Stamps
1. Roll only enough fondant for 1–2 cookies so it doesn’t dry out. A 2–3mm thickness is typical, but for deep designs roll to 3–4mm.
2. Dust the stamp lightly with cornstarch and tap off the excess. Press the stamp straight down with even pressure, or press the fondant into an upturned stamp if that method suits the design.
3. Lift carefully. If an area didn’t take, reroll and try again rather than forcing a misaligned impression.
4. Cut out, trim edges, and attach to the cookie with a thin brush of sugar syrup, taking care not to press on raised details. Allow to dry fully before storing.
Adding Details
Small fondant accents, sprinkles, or additional stamped elements can enhance designs. Use tiny dabs of edible glue to attach decorations. You can also combine stamps—start at the centre and work outward to avoid flattening earlier impressions.

Cleaning the Stamps
Follow the manufacturer’s care instructions. Many stamps are hand-wash only; some should not be submerged. When in doubt, brush off cornstarch and dried fondant with a soft brush or lint-free cloth.
Painting a Fondant Stamped Cookie
For painted effects, let stamped fondant dry for at least 24 hours so the surface is firm. Use glaze-based edible paints that dry fully. Paint recessed areas first with thinned paint, allow to dry, then paint raised lines with a thicker consistency to avoid run-off.
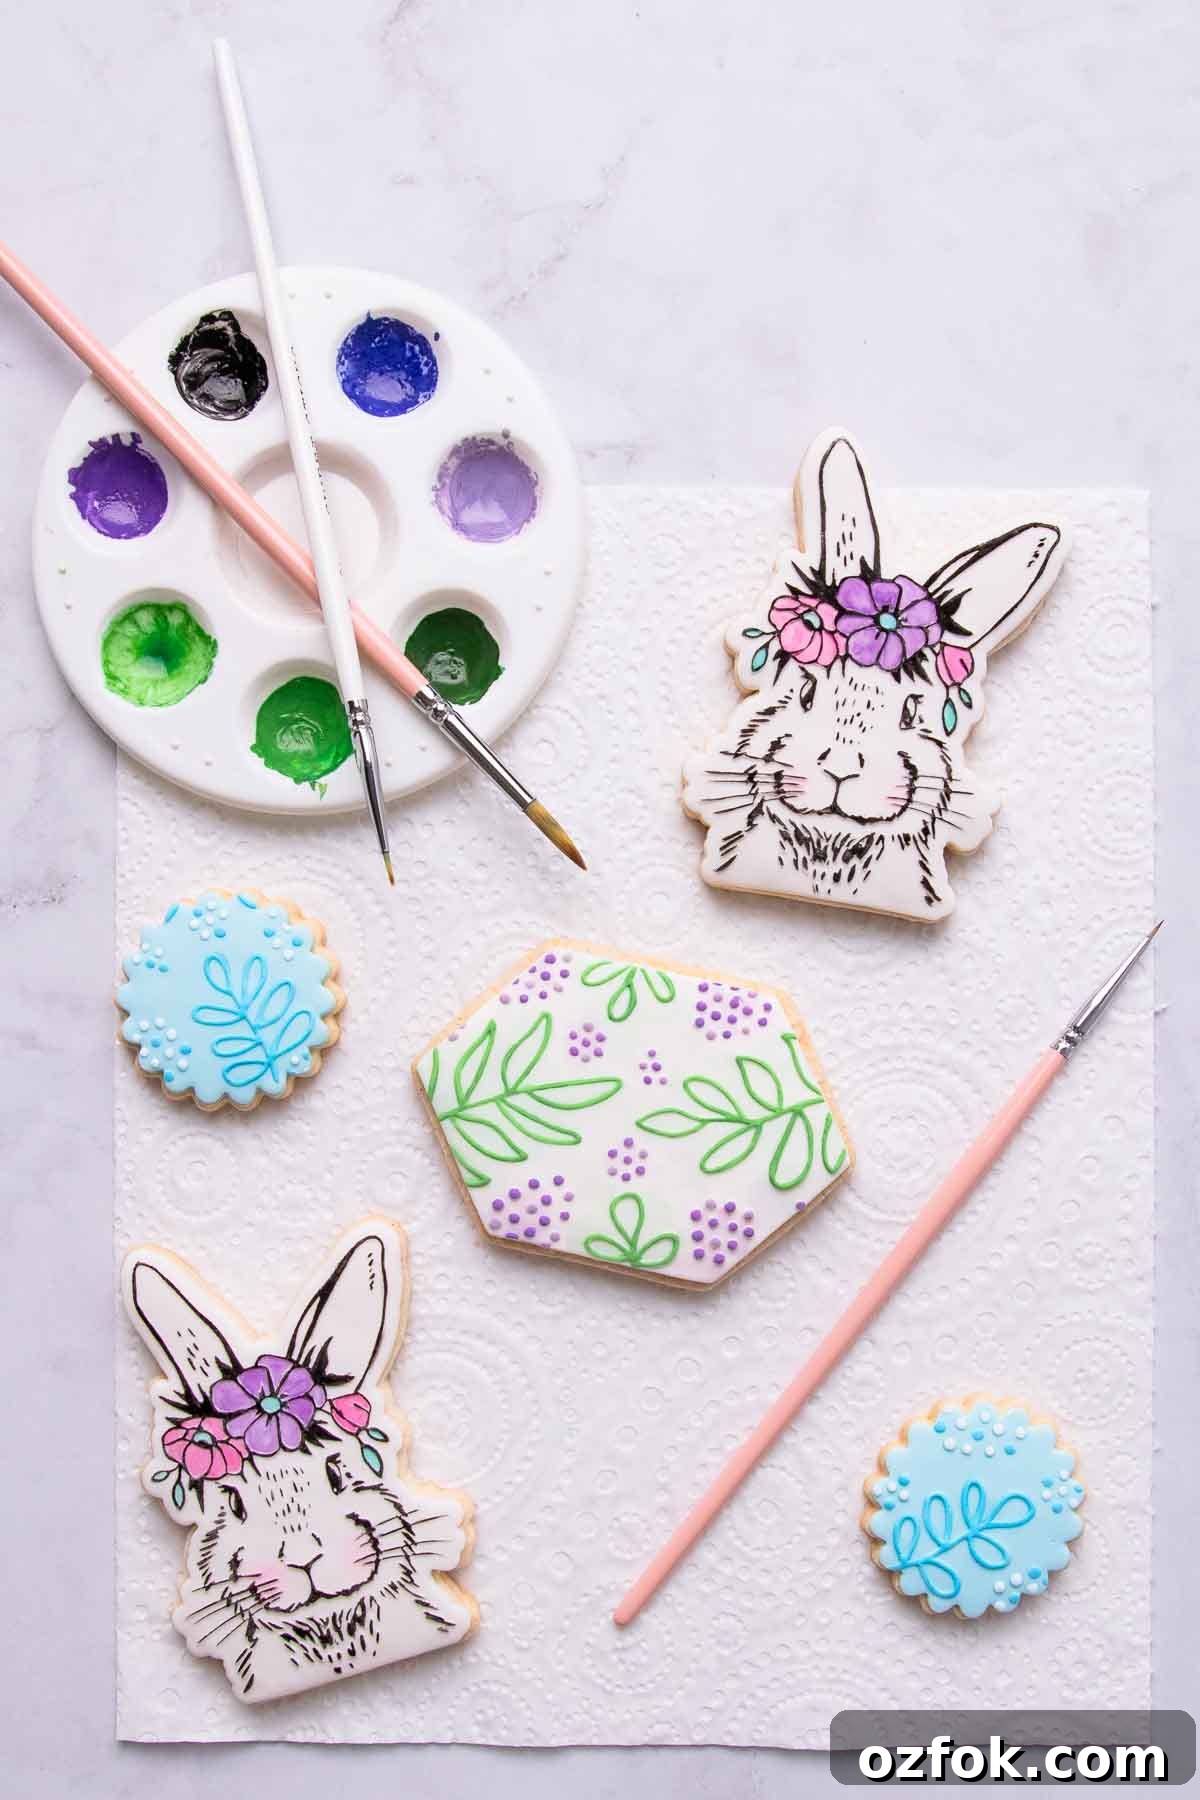
Work in layers, letting each one dry before adding more. Hold the brush at a slight angle for cleaner lines and rotate the cookie as needed to avoid smudging.
I hope these tips help you create beautiful stamped fondant cookies. If you try this technique, share photos of your finished cookies and note what worked best for you—practice really does make perfect with stamping and painting.
— Natalie